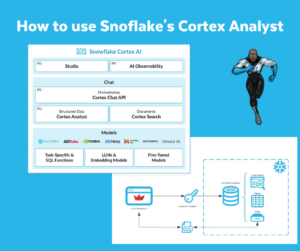
Last week I followed a Python Essentials course at The School of Data Science in The Hague. At a certain point we discussed Streamlit. This open-source framework could be a potential Power BI killer when it comes to visualising data and interacting with data. Interesting enough to check it out. It became even more interesting when I saw the following announcement the next day; Snowflake to Acquire Streamlit.
Before I will dive into the possibilities of Snowflake and Streamlit, I thought I would try out an easy example. Therefore I followed two examples from Snowflake and Streamlit and combined it to one example.
Setting up
First I had to make sure that I could use Python and Streamlit in combination with Snowflake. I have Anaconda installed on my local machine. Within Anaconda I have made a separate environment to check work this example out. In this environment I installed Streamlit and the Snowflake Connector for Python.
In combination with my Snowflake-account all should be in place to get things going.
Getting Started with Python
Following the Getting started with Python-guide, I’ll make sure I can interact with Snowflake from Python. First I have to validate whether the connection from Python with Snowflake can be made. In the QuickStart you can see that the credentials are visible in the .py-file.
ctx = snowflake.connector.connect( user='<your_user_name>’, password='<your_password>’, account='<your_account_name>’ )
If you do not want that, there is an alternative solution with a separate file for the credentials and a reference to that file in the .py-file. I created a short example.
In the Credentials-file you can register the various components necassary to connect to Snowflake:
- account (mandatory)
- user (mandatory)
- warehouse
- role
- database
- schema
- password (mandatory)
From within the Validate-file you can reference the Credentials-file. First you specify the location of the the Credentials-file. Then you make sure that the Validate-file can read from the Credentials-file. Then you create several variables (at least, username, password and account) with the information specified in the the Credentials-file.
If you use this setup and you use version control like Git, make sure to put the credentials file in .gitignore.
Creating my first Streamlit App
In Github I uploaded my first Streamlit App. It’s nothing more than a Python-script which consists of a few blocks:
- Setting up the connection to Snowflake
- Creating Snowflake-objects
- Loading Data
- Doing the Streamlit-magic
Finally running the Python-script; streamlit run <path to Python-file>
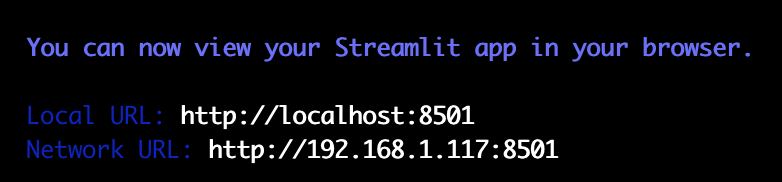
Made with Streamlit
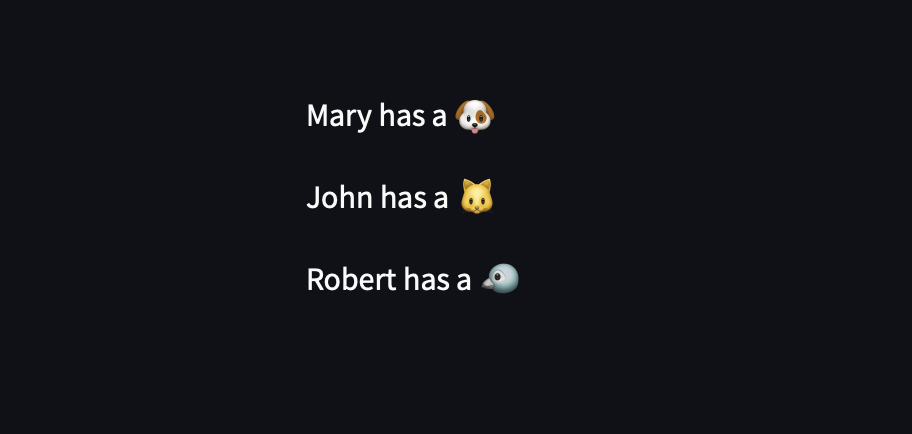
The end result of my first Streamlit app is a non-interactive web application. Just to see how easy it is to connect Python and Streamlit to Snowflake. In a following blogpost, I will find out how easy it is to make an interactive web application in Streamlit.
Thanks for reading and till next time.