A few weeks ago I shared a blog about how to create an ‘Ask ChatGPT Anything’ using Streamlit and the 5W1H Method. The goal of that blog was to create a Streamlit Application and using the OpenAI API to send prompts, constructed using the 5W1H Method, to ChatGPT.
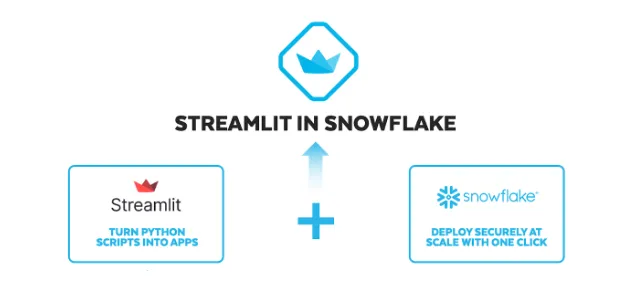
The goal of this blog is to take the previous blog and go for Streamlit in Snowflake (SiS, currently in Public Preview on AWS), still using the OpenAI API to send prompts, constructed using the 5W1H Method, to ChatGPT.
ChatGPT
When it comes to ChatGPT, the better you specify your question, the better ChatGPT’s answer. One possible way to specify these prompts is by using the 5W1H Method. Using this method, you construct a prompt via answers to the following 6 questions; who?, what?, where?, why?, when? and how?
5W1H Method
According to ChatGPT, the 5W1H Method should give you the following insight:
- Who? — Understanding “who” can help in tailoring the language and complexity of the response.
- What? — Specifying “what” ensures that the AI provides the type and format of information you desire.
- Where? — Defining “where” can help in receiving region or context-specific answers.
- Why? — Knowing “why” can help in determining the depth and angle of the AI’s response.
- When? — Framing “when” can help narrow down the context of the information provided.
- How? — Clarifying “how” can guide the AI in structuring its answer in the most useful way.
Asking ChatGPT Anything
We are going to build a Streamlit in Snowflake application to chat with ChatGPT, building ChatGPT prompts using the 5W1H Method.
ChatGPT
- OpenAI API
- 5W1H Method
Streamlit in Snowflake
- Setup Streamlit
- Streamlit Snowflake objects
- Streamlit Application objects
- Streamlit Application
Create Streamlit in Snowflake objects

Streamlit in Snowflake is another option to create, deploy and share Streamlit applications. In this case the application is created closely where the data resides. Another example of one of the bases of the Snowflake Data Cloud; bringing workloads to the data instead of the other way around.
Before we can create a Streamlit Application in Streamlit we need to create a series of Snowflake objects:
- Create Streamlit User
- Create Streamlit Role
- Create Streamlit Warehouse
- Create Streamlit Database
- Create Streamlit Schema
- Create Streamlit Stage
- Grants on Streamlit Snowflake objects
- e.g. Grant STREAMLIT on Schema
Find the script to create the Streamlit in Snowflake objects on GitHub.
Setup OpenAI (External Network Integration)
In the previous blog we used the OpenAI API from within the Streamlit application. This time we will use Snowflake’s External Network Integration functionality, currently in Public Preview on AWS and Azure.
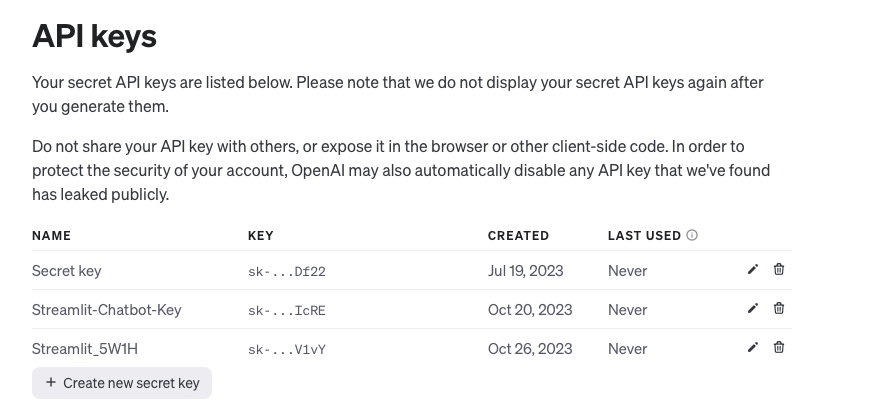
Before we setup the External Network Integration, we need to generate an OpenAI API Key
Generate OpenAI API Key
To be able to chat with ChatGPT via the OpenAI API, you need to have a OpenAI API Key for authentication. You can generate one by setting up an account on; https://platform.openai.com.

Setup External Network Integration in Snowflake
Setting up an External Network Integration to the OpenAI API in Snowflake is a four step proces:
- Create a network rule
- Create a secret
- Create an external access integration
- Create the OpenAI Response UDF
Find the script to setup the External Network Integration to the OpenAI API in Snowflake on GitHub.
Building the Streamlit Application
At this point everything is set for building the Streamlit Application. A lot of steps are similar to the previous blogpost. The biggest difference is the fact that the OpenAI API logic is in Snowflake.
- Import required packages
- Streamlit
- Snowpark
- OpenAI model Engine
- Page configuration
- Sidebar configuration (optional)
- Create Main Application
- Collecting user input according to the 5W1H Method
- Sending user input to ChatGPT function
- Submit the prompt_output to the ‘Get OpenAI Output’-UDF
- Return the chat response
- Submit the prompt_output to the ‘Get OpenAI Output’-UDF
- Display the ChatGPT response
Find the script to the Streamlit application on GitHub.
Setup Streamlit in Snowflake
There are two ways to create an Streamlit application inside Snowflake; either via the Snowsight UI or from within a Snowsight SQL worksheet. The former automatically creates the Streamlit application and the necessary files in the right location. Creating the Streamlit application from within a Snowsight SQL worksheet requires more manual steps, but also a little bit more control on how the Streamlit application is created.
In this example we create a Streamlit application from within a Snowsight SQL worksheet. Therefore we need to execute some SQL and upload two files to a Snowflake Stage (a Streamlit application file and an environment.yml)
The environment.yml holds the required Python packages. You can only install packages listed in the Snowflake Anaconda Channel. Other channels are not supported.
Find an example of the Streamlit application file and the environment.yml on GitHub.
Summary
In this blog I showed how to create a similar application as created in a previous blog. This time I used Streamlit in Snowflake and Snowflake’s External Network Integration to use the OpenAI API. The prompt to ask ChatGPT for output has still been constructed using the 5W1H Method.
It was interesting to see how I could use two Public Preview features to create, deploy and share Streamlit applications and access an external API. Both from within Snowflake.
Till next time.
Snowflake Data Superhero. Online also known as; DaAnalytics.


